
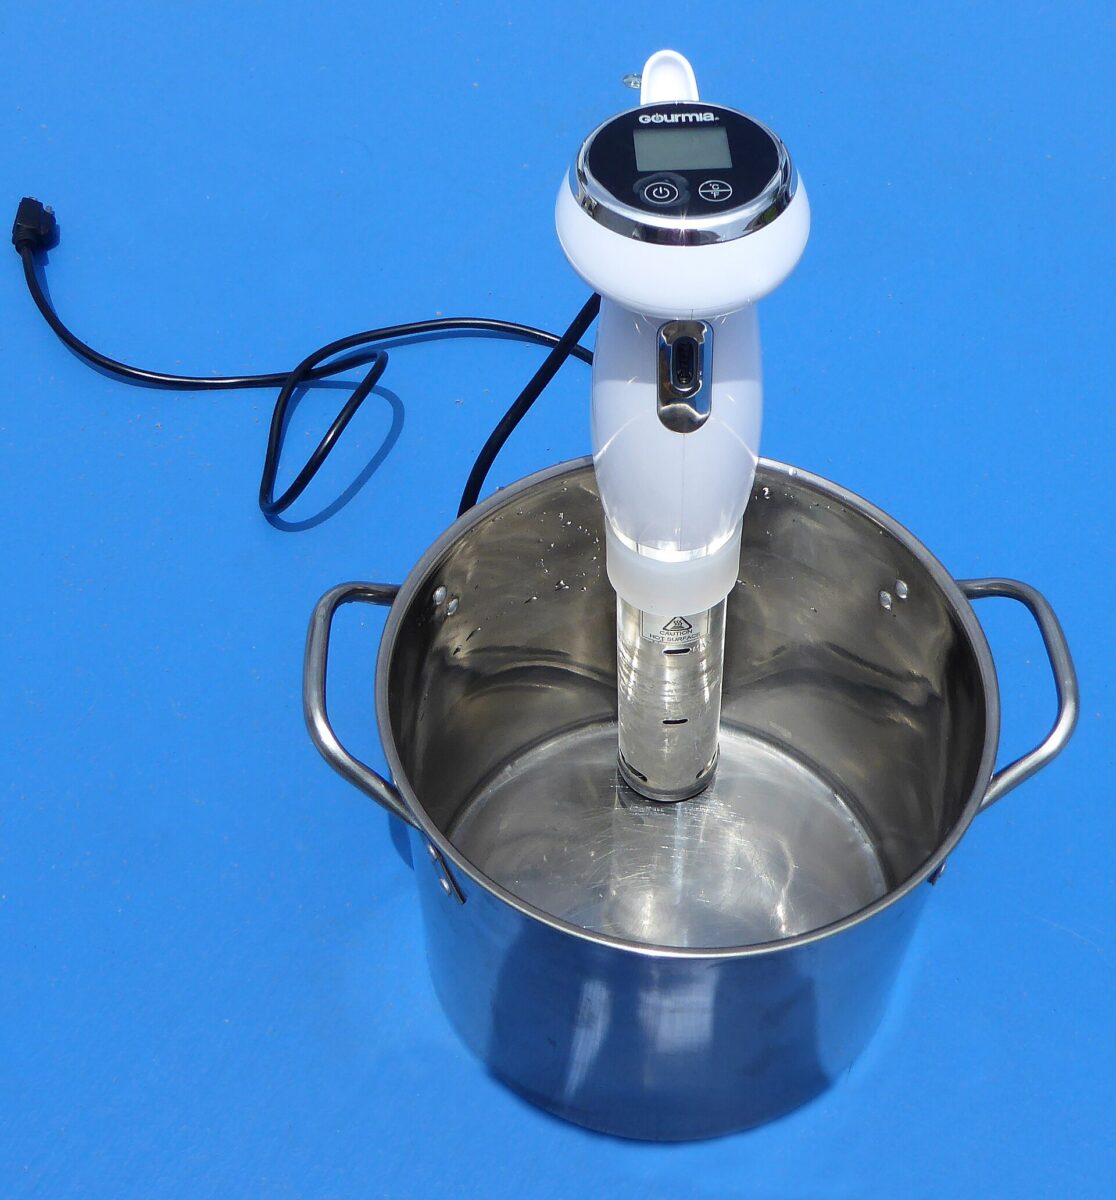
A sous-vide bath holds a low, steady temperature — the same gentle heat that gives homemade vanilla extract a months-long head start.
Photo: David Lippincott / Chassis Plans, CC BY-SA 4.0
Real vanilla extract is a waiting game. Steeped the traditional way, it needs three to six months — and a full year is even better — for the alcohol to pull every note out of the bean. That’s fine when you plan ahead. It’s less fine when you need a finished bottle sooner than that — for a gift, a recipe, or a batch you meant to start months ago — and the calendar is no longer on your side.
The good news: you can shorten the wait. None of these methods makes real extract instant — anyone promising overnight extract is selling you vanilla-scented vodka — but each one gives you a genuine head start. Here are three ways to speed up vanilla extract, from gentlest to most hands-on, with honest expectations on how much time you’ll actually save.
First, a word on what you’re starting with: extraction is only as good as the beans. Grade B, extract-grade beans are drier and higher in vanillin per ounce than plump Grade A beans, which makes them the smart, economical choice for extract. Whichever method you use, start with enough beans — the FDA single-fold standard works out to just over three-quarters of an ounce of beans per cup of alcohol, and we recommend rounding up to a full ounce (6–8 beans) per cup of 80-proof alcohol — the same formula many professional extract makers use. Not sure how many you need? Our vanilla extract calculator does the math for you.
Method 1: Sous Vide — the gentle head start
Warm alcohol pulls flavor faster than cold alcohol. A sous vide bath holds a low, precise temperature for days, which is exactly what you want.
- Split your beans and add them to a jar with your alcohol.
- Cap the jar fingertip-tight — snug, not cranked down. You want to keep the alcohol in without sealing the jar into a pressure vessel.
- Set your sous vide unit to 135°F and run it for about 96 hours (four days). Keep an eye on the water level and top it up so the jars stay submerged.
- Taste as you go: put a couple of drops in a tablespoon of whole milk. The milk mellows the alcohol bite so you can judge the actual vanilla flavor.
After the bath, your extract will already taste like extract — but it isn’t finished. Give it another two to three months in a cool, dark cupboard and it will round out and deepen. Think of sous vide as buying a several-month head start, not a shortcut to the finish line.
A note on safety: alcohol is flammable. Keep the setup away from open flame, use heat-safe canning jars, and never seal the lids down tight — leave them fingertip-tight so pressure can escape.
Method 2: The Instant Pot
No sous vide circulator? An Instant Pot on its low sous vide or yogurt setting does much the same job — a steady, gentle warmth that accelerates extraction. It’s the most accessible version of the heat method, since it’s already sitting on a lot of kitchen counters. Here’s a video walkthrough of the technique.
The same rules apply: split beans, jars fingertip-tight, taste in milk, and plan to age the extract a while longer before it peaks.
Method 3: Aeration — the way some producers do it
Here’s a trick from the commercial side. Moving air through the alcohol speeds extraction and softens the harsh raw-alcohol smell and taste — the same reason a young extract improves as it breathes. Done this way, a batch can be ready in roughly 35 days. Here’s a DIY version:
- A wide-mouth 6.5-gallon carboy (the kind homebrewers use).
- An aquarium pump / bubbler.
- A screen to keep the beans separated from the pump.
- Position the pump so it circulates the alcohol from the bottom to the top, continuously moving it past the beans.
Run it for about a month, tasting along the way. The constant circulation does two jobs at once: it keeps fresh alcohol in contact with the beans, and the aeration mellows the sharp edge that makes young extract taste boozy. You can see the concept in action here.
A note on safety: you’re aerating alcohol, so work in a well-ventilated space away from any ignition source, and use clean, food-grade equipment.
So how much time does this really save?
Be honest about the goal. If you want extract that tastes good, any of these methods can get you there in weeks instead of months. If you want extract that tastes incredible — the deep, mellow, complex stuff — it still rewards patience. Even a sped-up batch keeps improving for months in the bottle.
Which is exactly why, if you have a deadline in mind, now is the time to start. Begin a batch today with one of these methods and you’ll have something worth giving in a matter of weeks — with time to spare for it to keep getting better. New to the process? Start with our full guide on how to make vanilla extract at home, then pick up your extract-grade beans and get steeping.
Frequently Asked Questions
Can you make vanilla extract faster than 6 months?
Yes. Gentle heat (sous vide or an Instant Pot) or continuous aeration can produce good extract in weeks rather than months. It won’t be quite as deep as a year-aged batch, but it will taste like real extract, not raw alcohol.
Does heating vanilla extract ruin it?
Not at low temperatures. A warm bath around 135°F speeds extraction without cooking off the alcohol or scorching the flavor. Keep it gentle — you’re steeping, not simmering.
How long does homemade vanilla extract still need to age after speeding it up?
Plan on another 2–3 months for heat-method extract to mellow and round out. Aerated extract comes together faster but still improves with a little rest. Extract is forgiving — it only gets better the longer it sits.